
Import from Solution
Import From Solution is a powerful option for importing items from a specific solution previous created in SceneComposer.
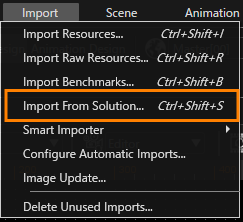
Select Import > Import from Solution in the menubar.
The Import From Solution dialog guides you through the steps of importing specific elements from a selected solution.
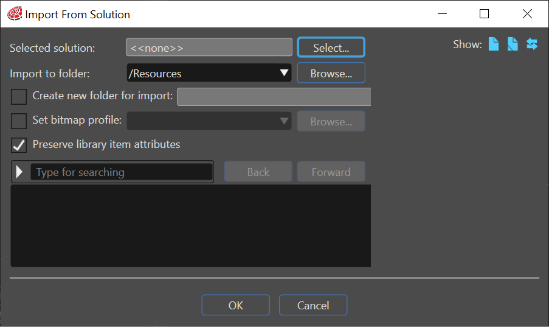
Using Import From Solution
- Click Select. In the Windows Open dialog, select the solution that contains the items you want to import.
- SceneComposer loads the selected solution and displays a hierarchical list of all items that can be imported in the Import From Solution dialog.
- Use the drop down menu next to Import to folder to select an existing folder for the imported items. Alternatively click Browse. In the Select Location dialog you can also create a new folder using the context menu Add > New Folder.
- In the list of items that can be imported, select the specific items that you would like to import using the checkboxes.
- Click OK to import the selected elements.
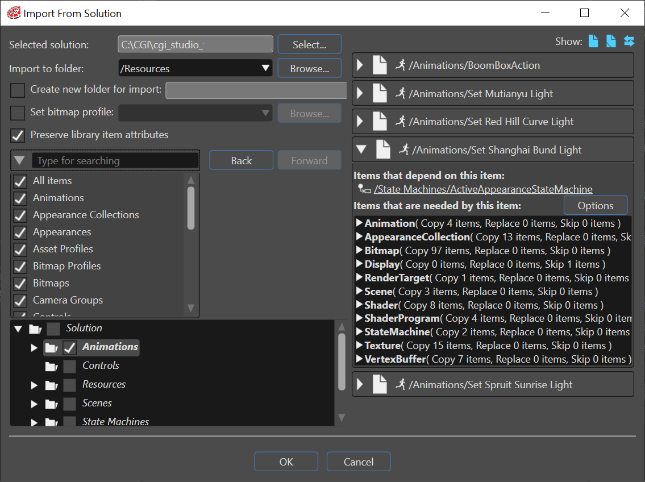
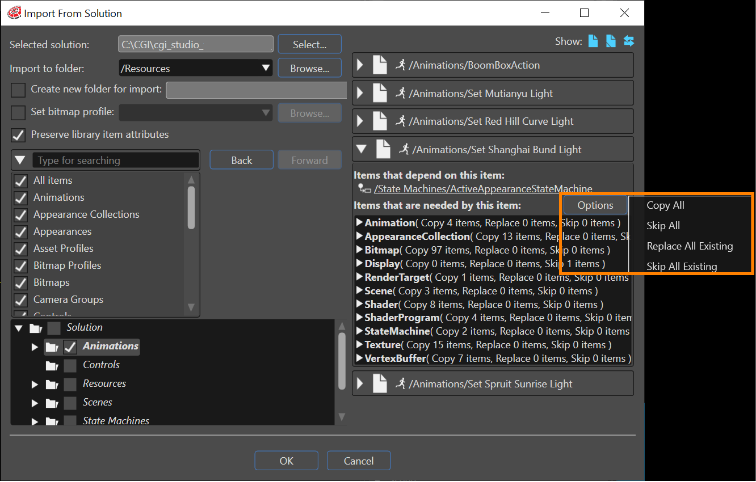
If a selected item has dependent items, this information is displayed on the right side within the item list. Next to the items with dependencies, SceneComposer provides an Options button.
- Copy all
- Skip all
- Replace all existing
- Skip all existing
For each imported-item category, you can see its relationship to existing imported items: New, Existing and Conflict.
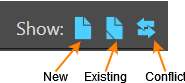
Select one or more Show options to see the new items, existing items or conflicts between newly imported items and previously imported items. If there are different existing (\=) items, another Existing button becomes available. Click Existing to open the Compare Items dialog and view the existing items.
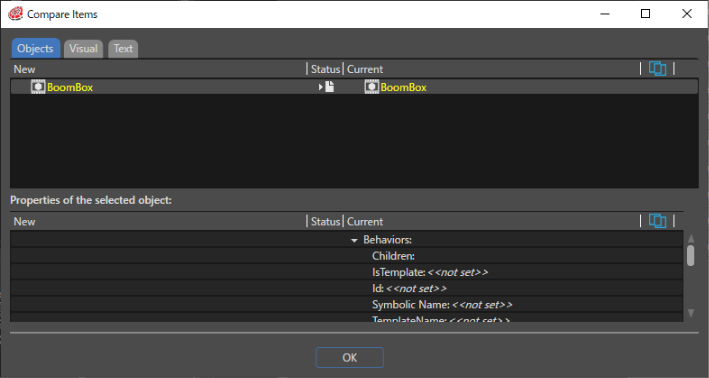
Click Show only differences to see only the differences between selected items. You can use the comparison in different modes. For example, if the imported items are shaders, you can view them in three different modes: Objects, Visual and Text.
|
|
Show only differences button |
|
|
Conflict button |


If there are conflicts between the items, Conflict becomes available. Click Conflict to open the Compare Items dialog and show all existing conflicts.
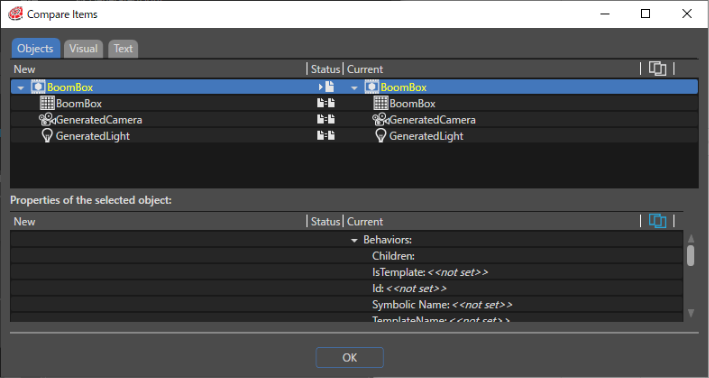
The status signs indicate the nature of each conflict. When you click Show only differences, the dialog shows only the conflicts. When you click the button again, the dialog shows all items. When you select a conflict, the dialog shows all properties and their differences.